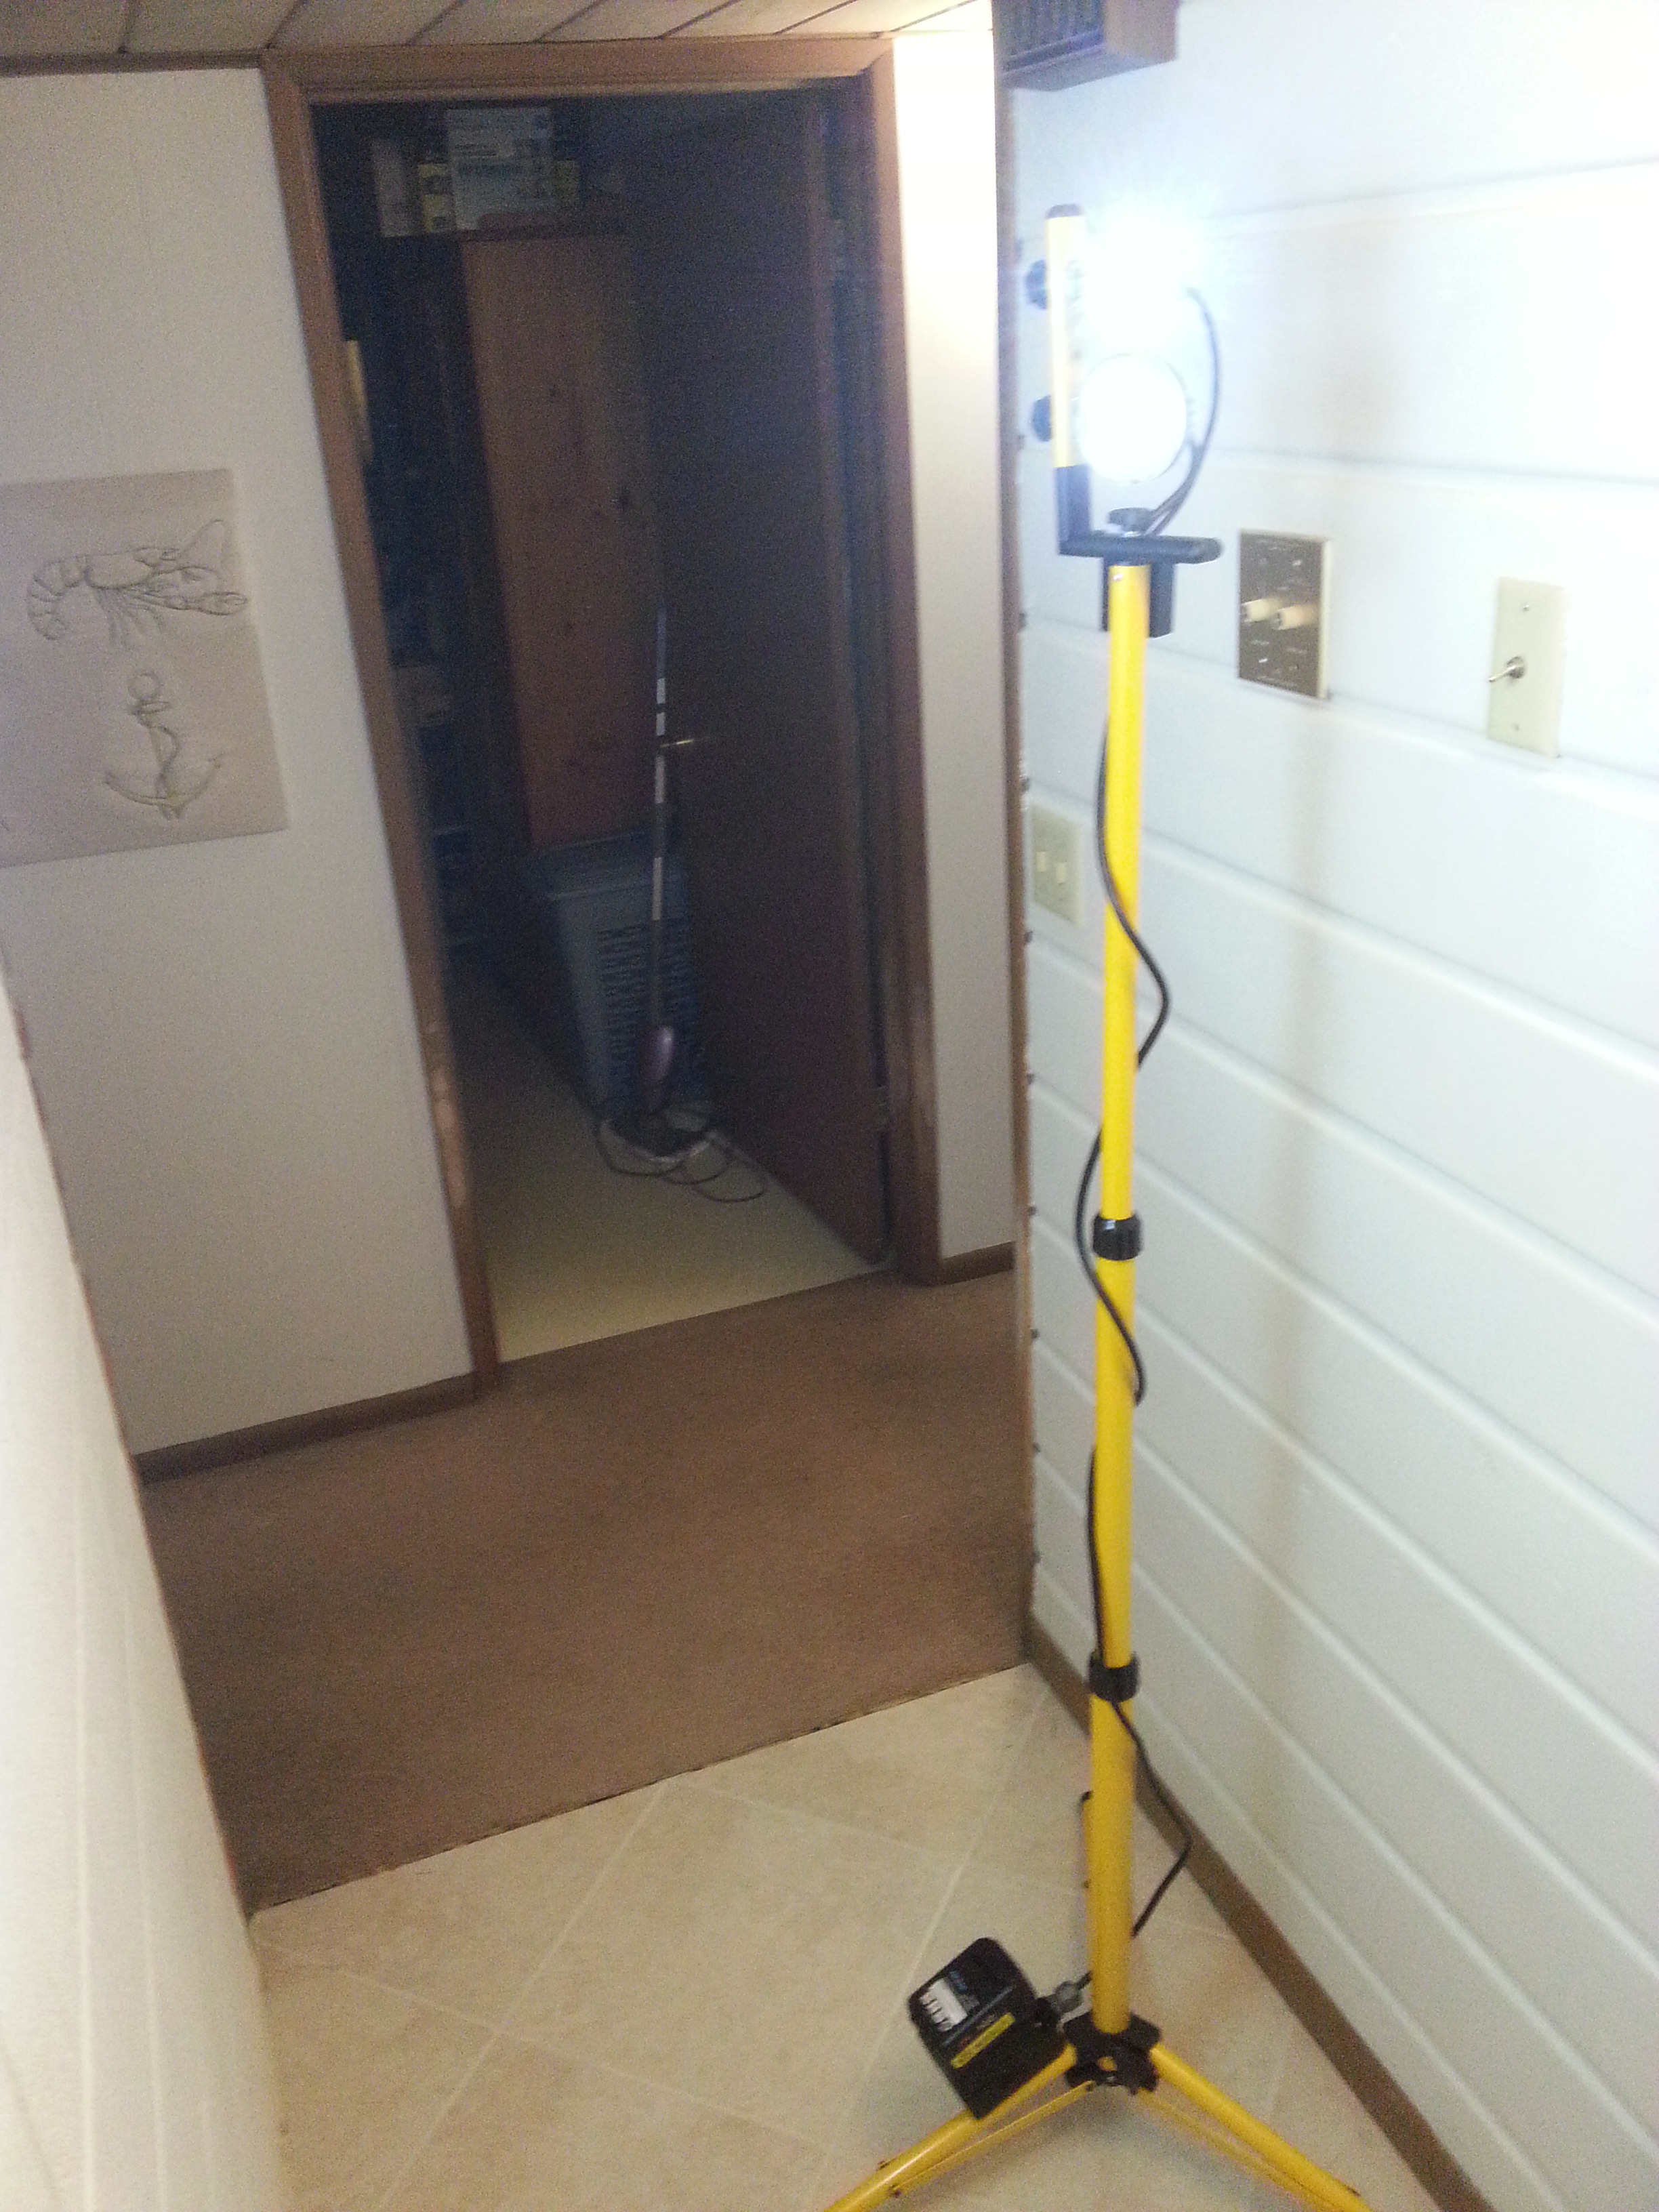
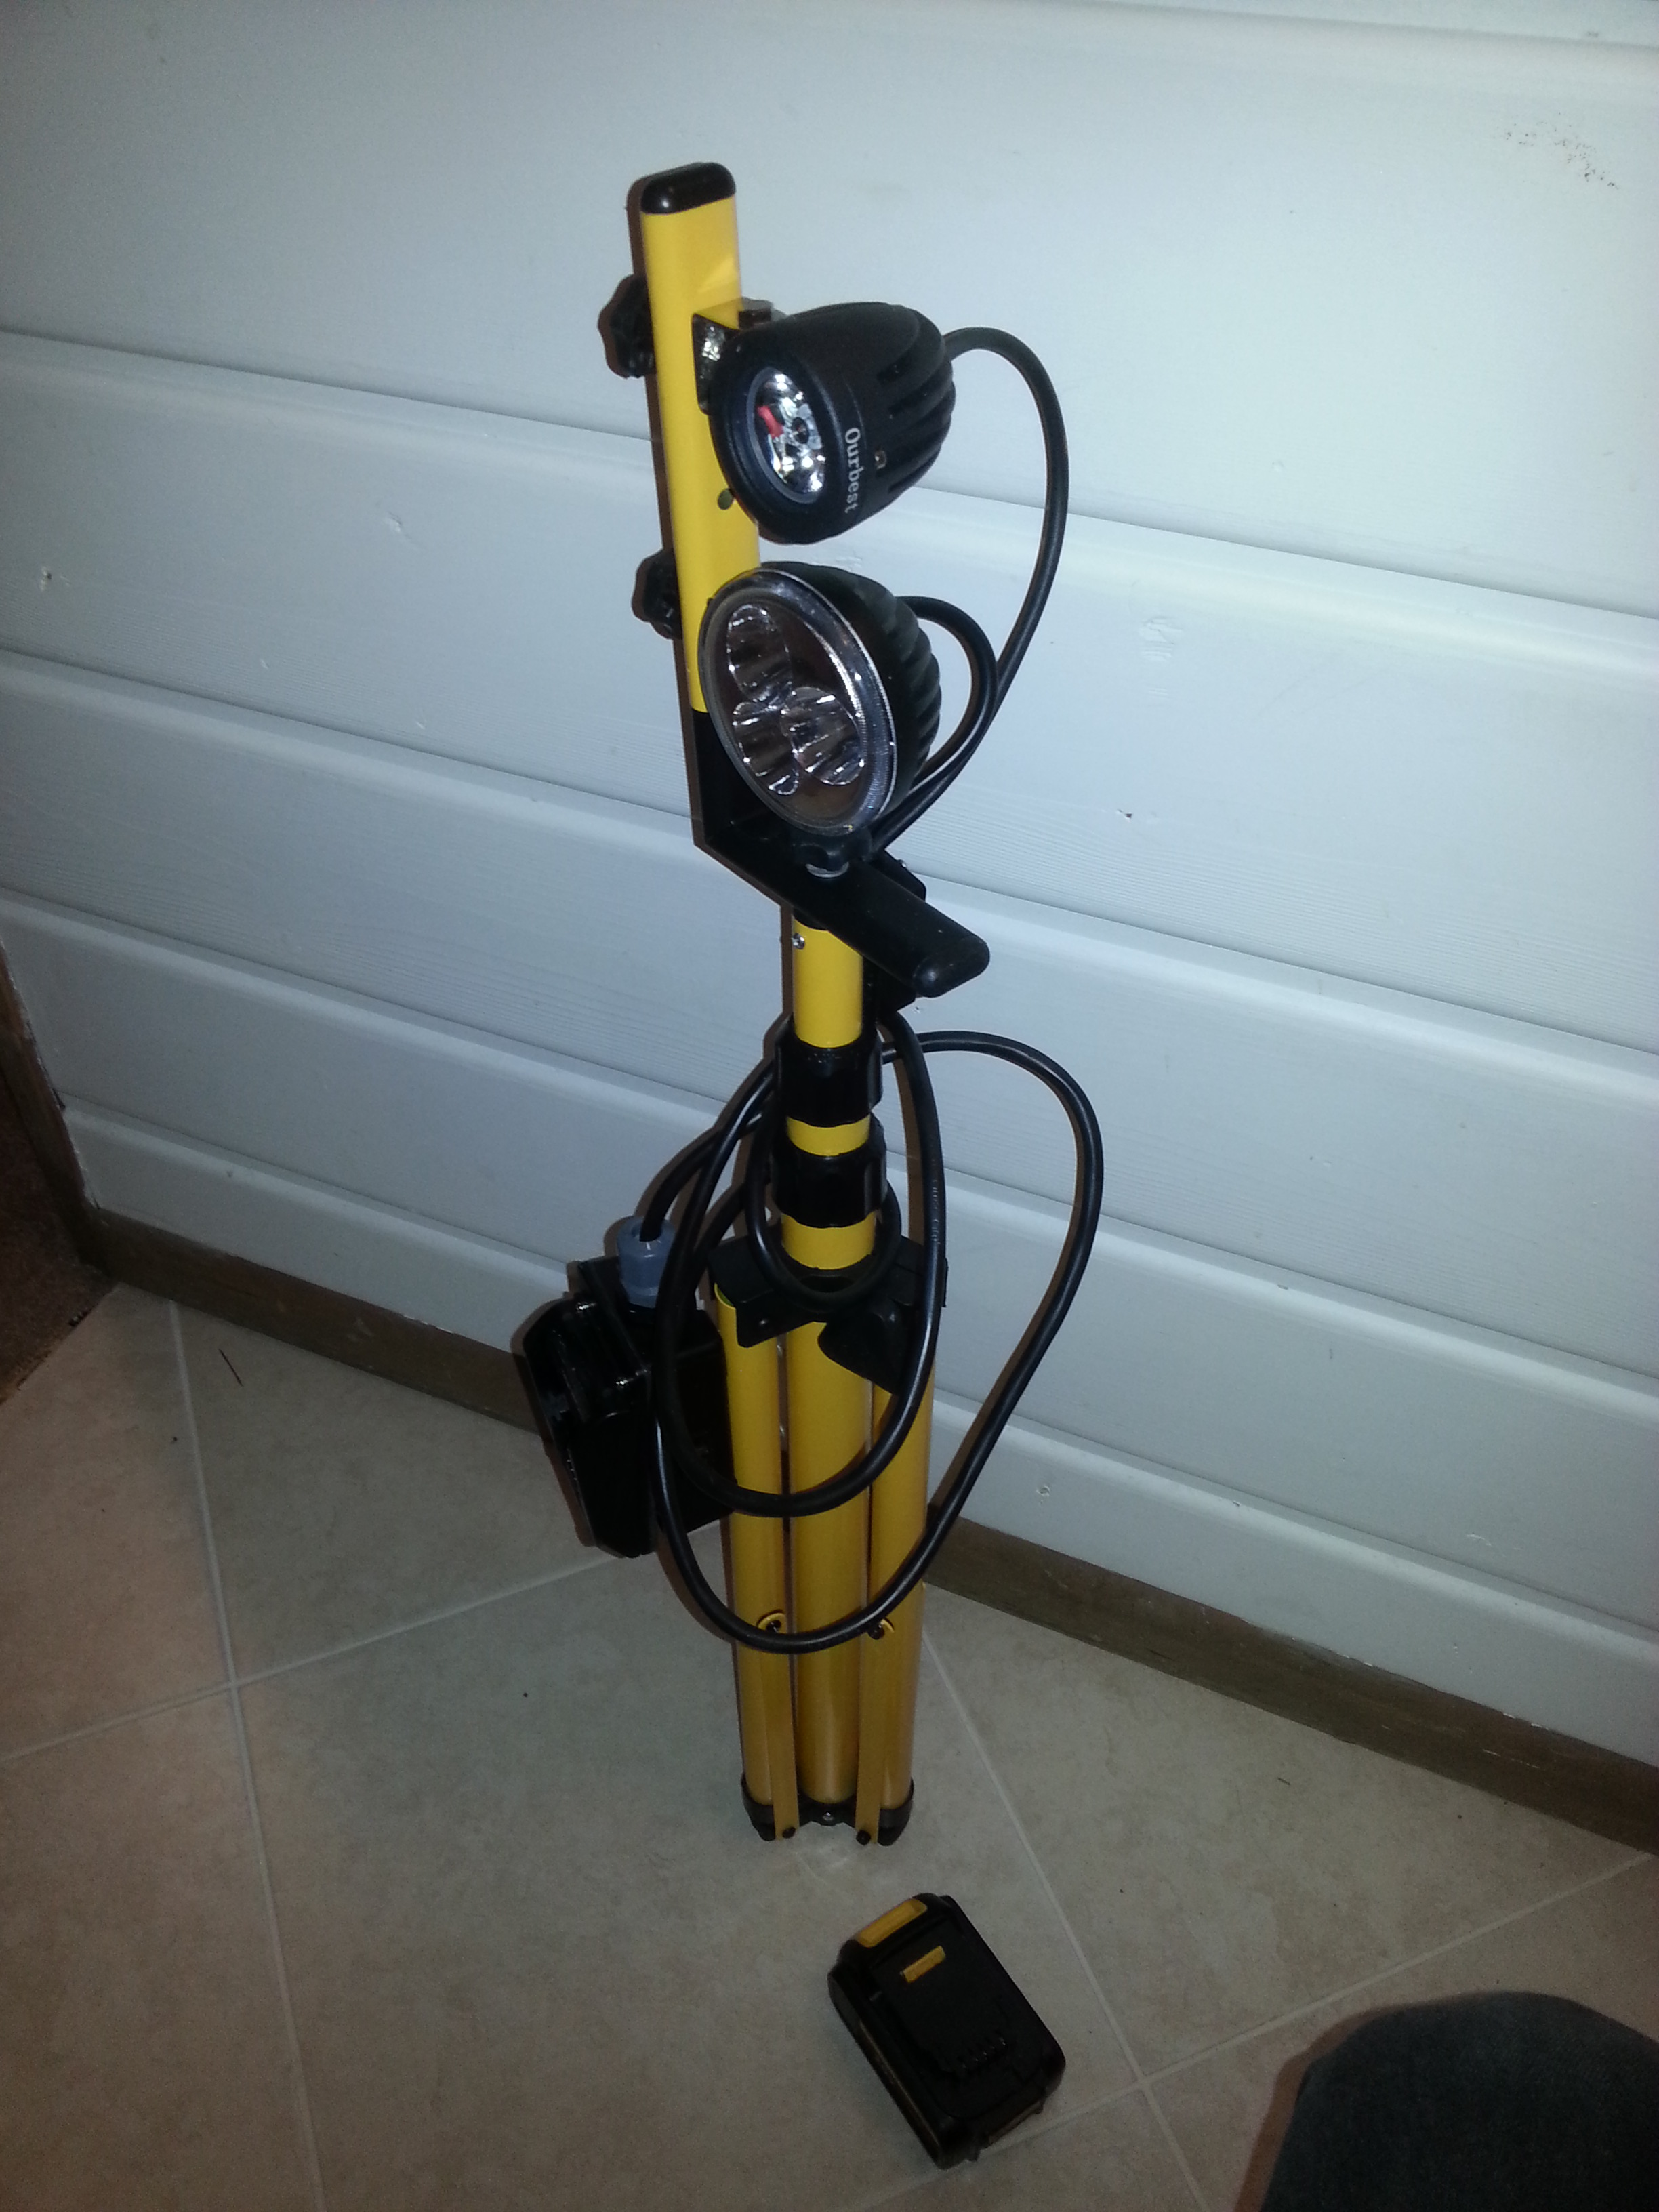
Cordless tripod worklight with spotlights powered by Dewalt 20v battery.


Alan Millar's personal website
Cordless tripod worklight with spotlights powered by Dewalt 20v battery.


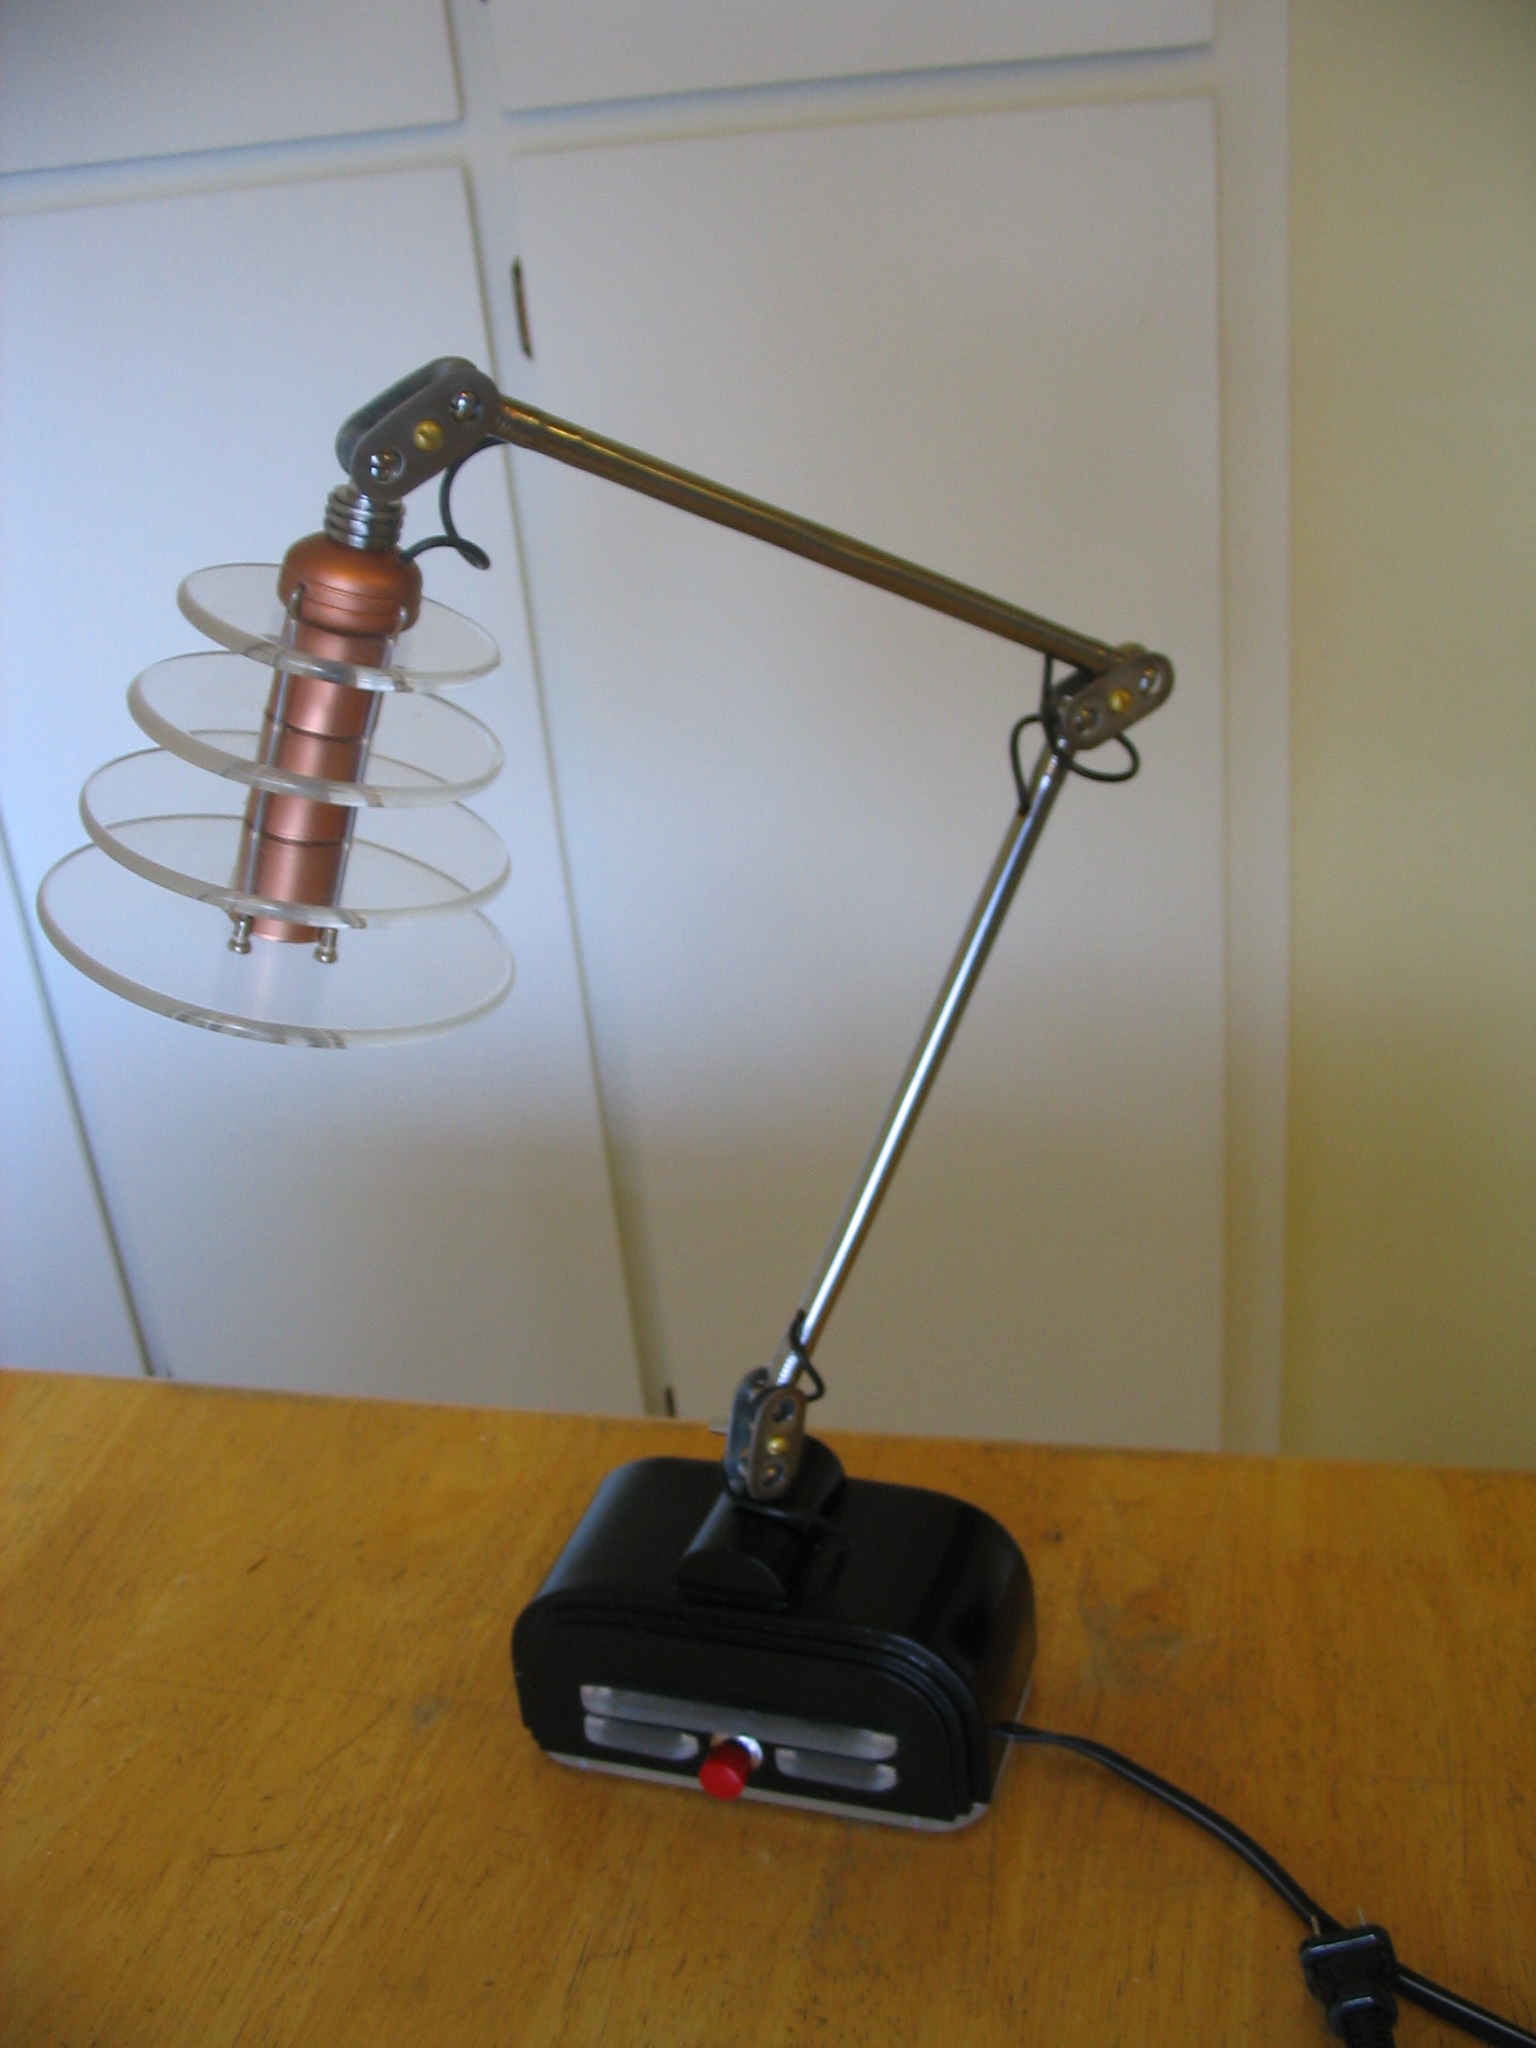
I built a stylish energy-efficient desk lamp, entirely from scratch. I have always enjoyed Art Deco and Machine Age industrial styling, and was inspired to use it for the lamp when my son and I were watching Batman, the Animated Series. A desk lamp worthy of Wayne Manor was in order.
The thing that originally prompted me to build a lamp was a broken computer scanner. I took it apart and removed the cold-cathode fluorescent light, and thought to myself “this would make a cool lamp”. And efficient too; putting out a lot of light at only about 5 watts as I recall.
I envisioned a long thin tube light at the end of an arm, which could be swiveled and positioned as desired over the desk. I made a shade for the tube from copper plumbing pipe. The CCFL inverter would be placed in the base of the lamp, along with a 12v power adapter and a few yellow LEDs to make the base glow.
As in most of my projects, I started the base with some sketches and then a cardboard model. I built it from acrylic plastic, cut on the table saw and bent by heating with the heat gun. I sanded it with fine sand paper, to change the gloss finish to a matte. Then I painted it with black vinyl dye.
Although it looks more like an Art Deco radio than a lamp, the result is still pretty good I think. It was just big enough to fit the 12v power supply, the CCFL inverter, a power switch and a few LEDs. Only one problem: it weighs nothing. Not good for the base of a lamp with metal arms and head. A heavy piece of steel in the bottom solved that.
I built the arm using 3/8″ chrome-plated copper pipe. The sections are connected by ball joints made from short bolts, with the heads rounded off using a file in the drill press. I first thought I needed to tap the tubes for the bolts. Then I found the copper was so soft the bolts would tap themselves.
The relatively-small contact area of the ball joints makes them somewhat weak. This means the lamp shade should be as light as possible.
Once I had the base, arms, and CCFL lamp built, I assembled them together and soldered the CCFL bulb on the end of the wires running through the arms, to the CCFL inverter in the base. First try: Oh no! It didn’t work. The tube just glowed dimly on each end.
I checked all the connections; no help. I disassembled it and connected the tube back directly to the inverter. It worked. Huh?!?! I determined there was nothing wrong with any of the individual parts or wires; they just didn’t work together. I could not get the lamp to work with the inverter in the base, away from the tube.
Argh! Frustrated, I set the project aside for quite a few months.

My new grinder needed some task lighting for the grinding wheels. I decided to build a dedicated lamp for each side, controlled by the grinder power switch. This worked in perfectly with my latest obsession, I mean interest, which is LED lighting.
My first obstacle was the fact that the grinder runs of 240 volts, which is double the standard voltage in the US. My 20 amp power outlet and cord only provided the straight 240 volts; no neutral center tap was available to get 120v. For the LEDs, I needed a power supply which could accept 240v.
Fortunately, I had a couple of discarded laptop power supplies which would accept 240v, thanks to their international design. I used an HP Omnibook power supply which produces 19v DC output.
I bent some scrap sheet metal from an old VCR case into a small bracket that just fit the power supply, and painted the power supply and bracket both grey to match the grinder. I attached it to the back of the grinder in a convenient spot.
I ran the input power cord from the power supply down the side of the grinder stand, and attached it to the main power output terminals inside the relay box.


LEDs


For the lamps, I made flexible necks by coiling solid copper wire around a rod. I left the insulation on the wire, and spray-painted it black using vinyl dye from the auto parts store. I ran the 19v output wire from the power supply up through the middle of the coil. The lamp shades at the end are PVC pipe caps from the hardware store, spray-painted silver.
Inside the PVC cap lamp shades are the LED arrays. Since white LEDs typically use around 3.3 to 3.5 volts, the 19 volts from power supply should be perfect to drive 5 LEDs in series, with a little left over for a current-limiting resistor. I measured the output of the power supply with my meter, and found that it actually produced 19.5 volts.
I used the LED resistor calculator to find that I would need a resistor of around 100 ohms in series with the LEDs. I wired up the 5 LEDs and the 100 ohm resistor in series, and tried it out with the power supply. They lit up nice and bright.
LEDs need to have the current limited externally, typically by a resistor as mentioned, and the average LED needs 20 milliamps. I measured the amperage in my circuit using my multimeter, and found that the actual current draw was 30 milliamps. While it might be fine, I decided to be a little more conservative and stick to the advised 20 milliamps.
The five LEDs were actually dropping 3.3 volts each, leaving 3 volts going through the resistor. 3 volts through the resistor at 100 ohms makes 30 milliamps. To reduce it to 20 milliamps, I changed the resistor to 150 ohms. Another check with the meter showed 20 milliamps as expected.
With that determined, I soldered the 5 LEDs and resistor to the ends of the 19v power wires sticking through the PVC cap. After wrapping the leads with electrical tape, I stuffed the LED array into the cap and pulled the slack out of the wire.
I used a few zip ties to secure the wires, and with that, I was done. Starting the grinder turned on the lights. With the copper wire neck, I can bend it to point the light at whatever angle is best on the grinding wheel. It didn’t take too long, and produces a decent light. I might just have to do this to all my tools.
In my quest for high-efficiency lighting, I came across a new idea for small household lights.