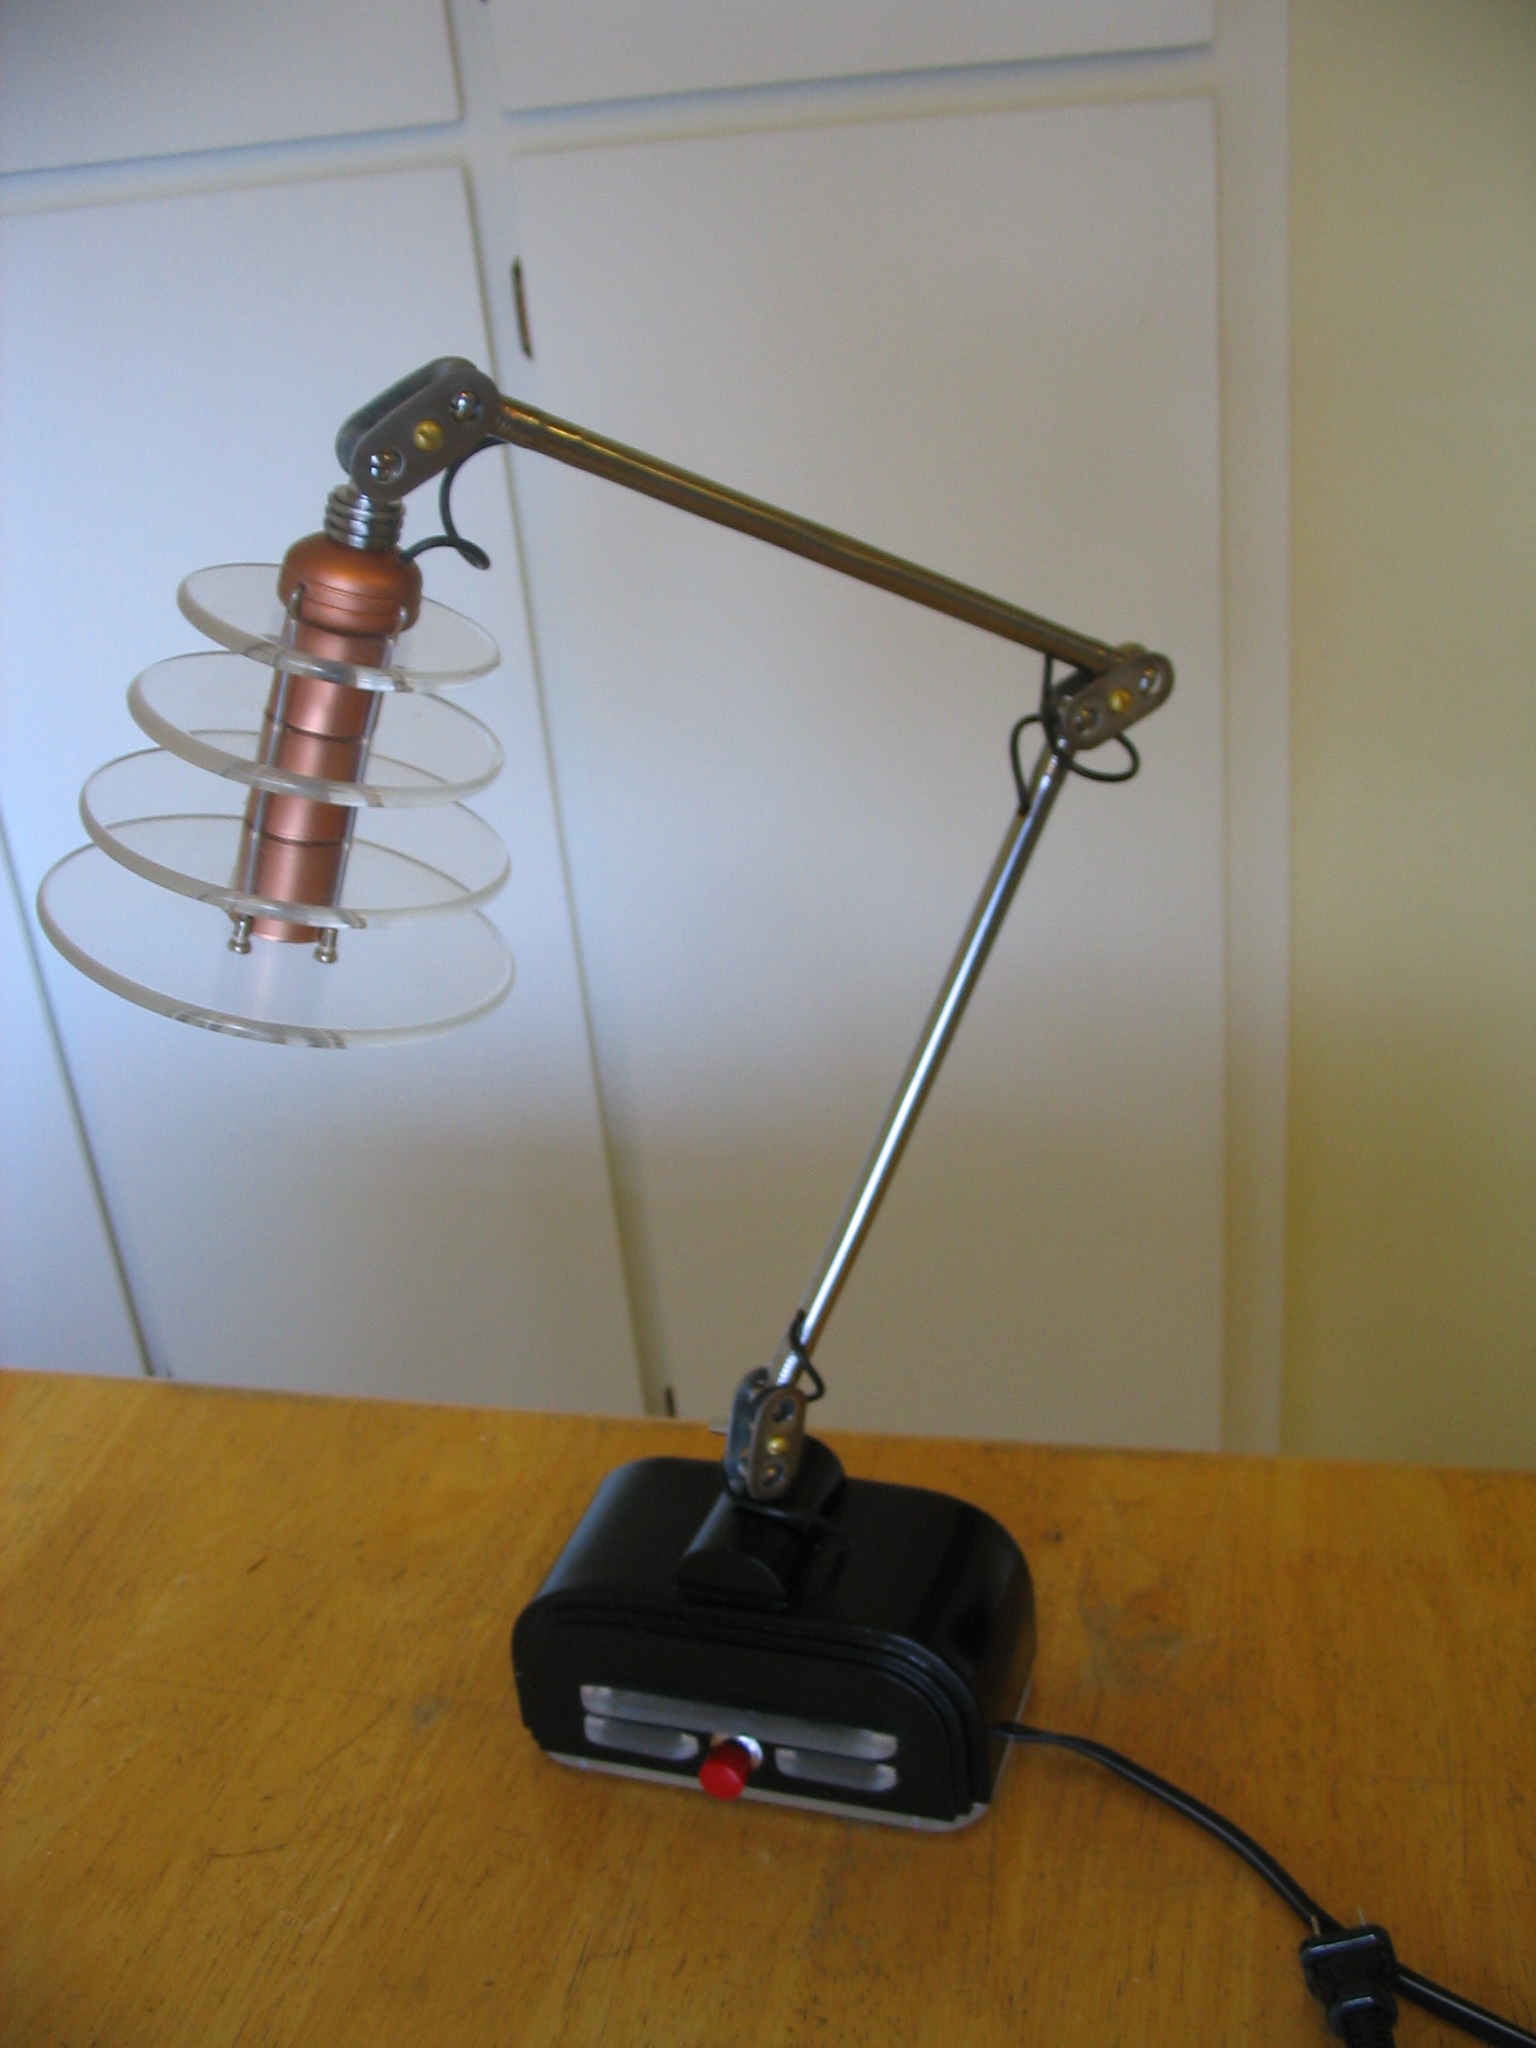
I built a stylish energy-efficient desk lamp, entirely from scratch. I have always enjoyed Art Deco and Machine Age industrial styling, and was inspired to use it for the lamp when my son and I were watching Batman, the Animated Series. A desk lamp worthy of Wayne Manor was in order.
CCFL
The thing that originally prompted me to build a lamp was a broken computer scanner. I took it apart and removed the cold-cathode fluorescent light, and thought to myself “this would make a cool lamp”. And efficient too; putting out a lot of light at only about 5 watts as I recall.
I envisioned a long thin tube light at the end of an arm, which could be swiveled and positioned as desired over the desk. I made a shade for the tube from copper plumbing pipe. The CCFL inverter would be placed in the base of the lamp, along with a 12v power adapter and a few yellow LEDs to make the base glow.
Base
As in most of my projects, I started the base with some sketches and then a cardboard model. I built it from acrylic plastic, cut on the table saw and bent by heating with the heat gun. I sanded it with fine sand paper, to change the gloss finish to a matte. Then I painted it with black vinyl dye.
Although it looks more like an Art Deco radio than a lamp, the result is still pretty good I think. It was just big enough to fit the 12v power supply, the CCFL inverter, a power switch and a few LEDs. Only one problem: it weighs nothing. Not good for the base of a lamp with metal arms and head. A heavy piece of steel in the bottom solved that.
Arm
I built the arm using 3/8″ chrome-plated copper pipe. The sections are connected by ball joints made from short bolts, with the heads rounded off using a file in the drill press. I first thought I needed to tap the tubes for the bolts. Then I found the copper was so soft the bolts would tap themselves.
The relatively-small contact area of the ball joints makes them somewhat weak. This means the lamp shade should be as light as possible.
First assembly
Once I had the base, arms, and CCFL lamp built, I assembled them together and soldered the CCFL bulb on the end of the wires running through the arms, to the CCFL inverter in the base. First try: Oh no! It didn’t work. The tube just glowed dimly on each end.
I checked all the connections; no help. I disassembled it and connected the tube back directly to the inverter. It worked. Huh?!?! I determined there was nothing wrong with any of the individual parts or wires; they just didn’t work together. I could not get the lamp to work with the inverter in the base, away from the tube.
Argh! Frustrated, I set the project aside for quite a few months.
LEDs
With no luck on my CCFL design, I decided to finish the lamp using LEDs. I bought a variety of cool-white and warm-white LEDs for experimentation, and decided they would be perfectly good for the desk lamp.
After consulting some Art Deco books at the library, I designed a new lamp shade with concentric acrylic disks around a central tube holding the LEDs. I used about 12 LEDs in several sets of 12v clusters. I made the center tube from PVC plumbing pipe and copper spray paint, keeping the lampshade as light-weight as I could. I held the disks to the tube using old bicycle wheel spokes. The nuts from the wheel rims threaded on to the spokes made the stacking assembly very simple.
Completed Lamp
In the end, the LEDs worked great. I gave the lamp to my father for Christmas (a year late!).
I eventually found out the cause of the CCFL problem. The CCFL bulb works on very high voltage; that is why it needs the inverter board. This means that with a low wattage, the actual current flow is extremely small. So small, in fact, that just an extra 10 or 20 inches of wire is enough resistance to keep the bulb from getting the power it needs and lighting up. So I’m sure it is solvable with some combination of larger wire or a modification of the inverter board to boost the power. Perhaps on the next lamp…

 Copper shade
 Copper shade
 light test


